A quick cash withdrawal can cost more than the cash you meant to use. An ATM operator may display a charge, and your own account provider may have a separate fee for that withdrawal. The amounts and rules depend on the machine and account, so the sensible starting point is the full cost of this particular transaction, not a general promise that one type of ATM is always free.
You do not need to stop using cash. You need a way to get the cash your week requires without turning repeated convenience fees into an invisible spending category.
Check both sides of the transaction
Before confirming a withdrawal, read any fee shown on the ATM screen. Then check your account’s current fee information for charges your provider might apply, including any conditions for fee-free withdrawals or reimbursements. A machine’s displayed fee is not necessarily the only cost. If you are unsure, a recent statement can show how comparable withdrawals actually posted; your provider can clarify the rules for your account.
Also check the balance and withdrawal limits that apply before assuming a larger withdrawal is possible. A fee-free option is not useful if it requires an inconvenient journey, an account change you do not want, or leaving too little in the account for a bill. Compare the real alternatives available to you rather than relying on a logo or a guess.
Calculate the fee as part of the cash errand
Put the fees next to the amount of cash you receive. For example, if a hypothetical withdrawal gives you 40 units of cash and the combined charges are 3 units, your account may be reduced by 43 units. The 40 remains cash in your wallet; the 3 is a cost of accessing it. The example is illustrative, not a claim about any bank’s rates.
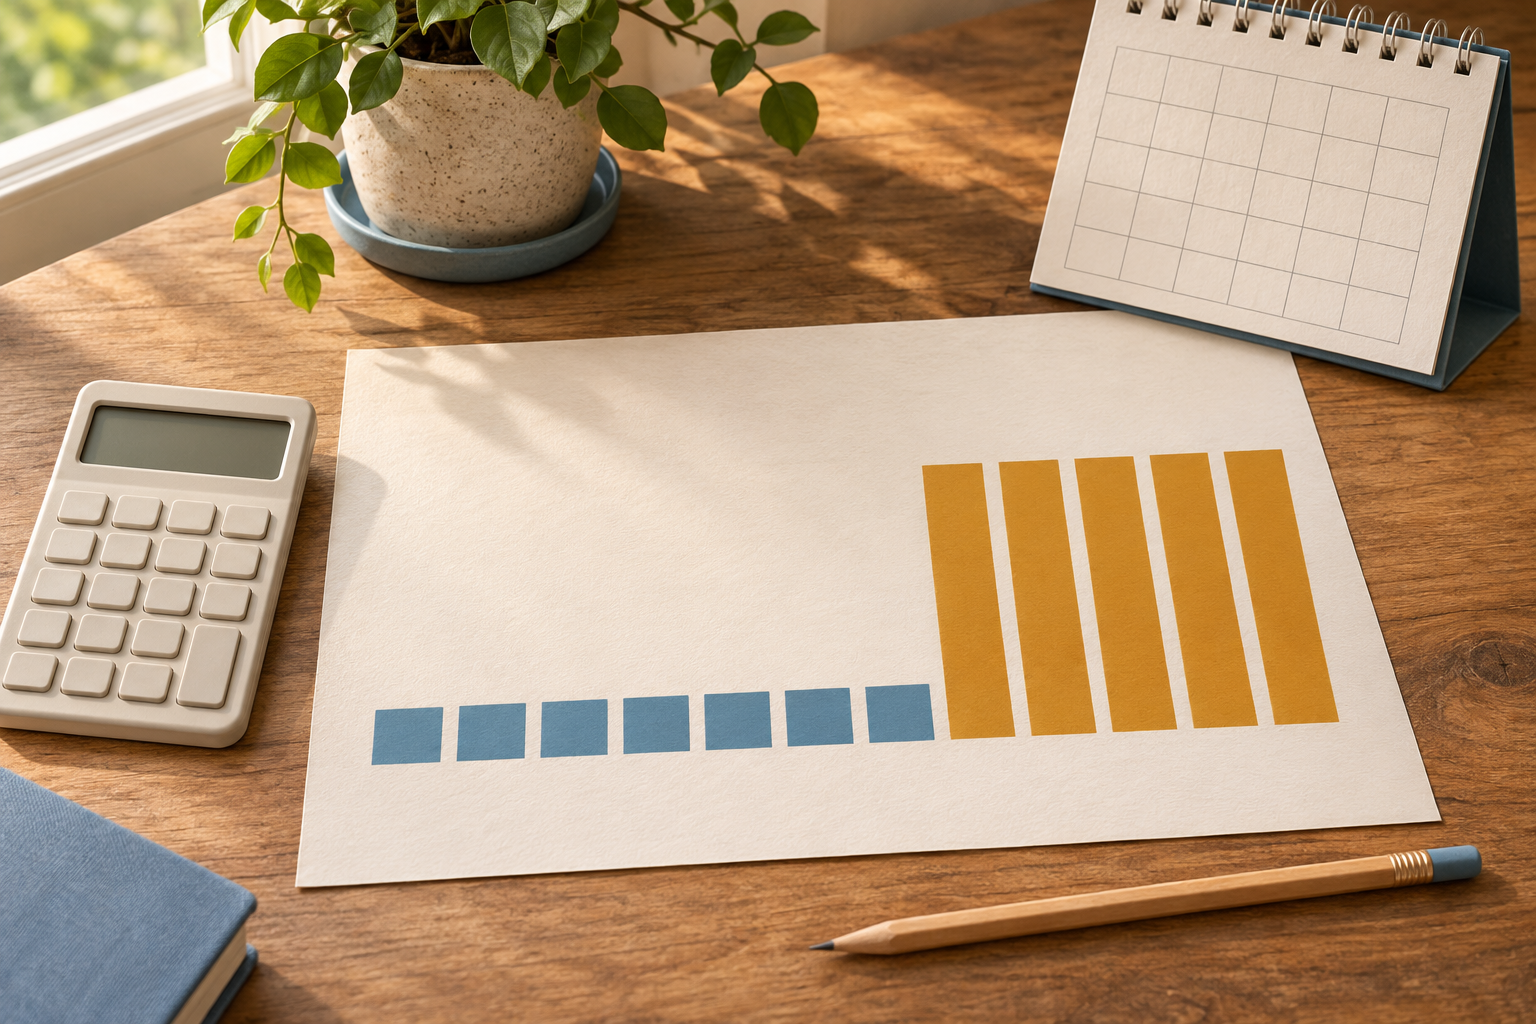
Four such withdrawals would cost 12 units in fees. One planned withdrawal might cost less, if the same charges apply and a larger amount is safe to carry and fits your account balance. But a long detour, extra travel expense, or carrying more cash than you are comfortable with can erase the benefit. Include time, transport, and safety in the choice.
When comparing options, ask:
- What will the ATM itself charge, if anything?
- What will my account provider charge or reimburse under my actual terms?
- How many withdrawals am I likely to make before the next payday?
- Would reaching a cheaper machine create another cost or inconvenience?
Pick a cash amount from the week ahead
Look at cash-only or cash-preferred expenses you already expect: a market visit, transport, a small service payment, or an event. Add a modest amount for change or a genuine backup need if your budget allows. Do not withdraw a large round number simply because you are already paying a fee.
A practical approach is to plan the next one or two weeks, rather than predicting an entire month perfectly. If you need 25 units for known cash purchases and want 10 units as backup, a 35-unit target is more informative than repeatedly taking out 20 whenever the wallet feels empty. Check what is already in your wallet first. Keep enough in the bank for scheduled payments and avoid an account shortfall just to save a small ATM charge.
If you often need cash at unpredictable times, identify an accessible lower-cost ATM on a route you already use. Knowing where it is can help, but do not delay an essential payment or put yourself in an unsafe situation for the sake of a fee.
Record cash and fees without double-counting
A withdrawal moves money from your account to your wallet; it is not itself a purchase. The fee, however, is an expense. If 40 in cash comes out and 3 in fees are charged, your account falls by 43, but you still hold 40 to spend later. Recording all 43 as ordinary spending and then logging each cash purchase again would inflate the budget.
Keep a simple note with three parts: cash withdrawn, fee paid, and cash remaining. When you spend the cash, assign those purchases to their real categories. If the bank posts the fee separately, categorize it as an account or cash-access cost. If it appears inside one transaction, use a note or split it during your review if your tracking method permits; otherwise keep a separate manual tally. Do not assume an expense-tracking app automatically knows what happened inside your wallet.
Our cash spending tracker covers the wider job of tracing cash purchases. Here, the specific question is whether the cost of obtaining cash deserves a different routine.
Review the pattern before changing accounts
At the end of a month, count withdrawals and add only the fees you actually paid, after any confirmed reimbursement. Compare that total with your original cash plan. Were the costly withdrawals caused by a predictable errand, an emergency, or simply not knowing a convenient alternative? The answer determines whether a planned withdrawal, a different route, or no change at all is worthwhile.
Do not switch accounts solely because one month’s ATM fees annoyed you. Compare the broader account terms, access, and any other costs that matter to you. If a fee looks wrong, check the receipt and statement, then ask your provider about that transaction through an official channel. Fee policies can change, so verify current terms before relying on an old rule.
If you use Furt Money to categorize spending, look at cash withdrawals alongside transport, groceries, and other places cash was used. A short monthly review can show whether the fee is an occasional convenience cost or a repeat expense worth planning around.
Make the next withdrawal deliberate
Before your next ATM visit, count the cash already on hand, name what the new cash is for, check the displayed charge, and consider any separate account fee. Then choose a safe amount that covers your real needs without starving the next bill. That small pause is often enough to make ATM withdrawal fees visible—and keep the cash itself accounted for.